Inside most companies right now, AI is already at work. Even if you have not rolled out ChatGPT Team or Copilot, people are using their personal subscriptions to speed things up. That is great for initiative, not so great for consistency. It looks a lot like the early Excel era: clever workarounds, duplicate effort, and new questions about data governance.
Sherpa is our way to bring order to that energy. We analyze real tasks from Asana or monday.com, group similar work with an LLM, and point to the places where automation will pay off. You get a clear plan you can act on, without buying another stack of licenses first.
What Sherpa is
Think of Sherpa as an AI audit for your task data. It connects to your workspace, reads tasks with your permission, and maps the repetitive patterns that eat time. Then it scores where automation is likely to win, explains why, and recommends how to build it. The output is practical and specific: plays, tools, prompts, and an effort estimate so you can prioritize.
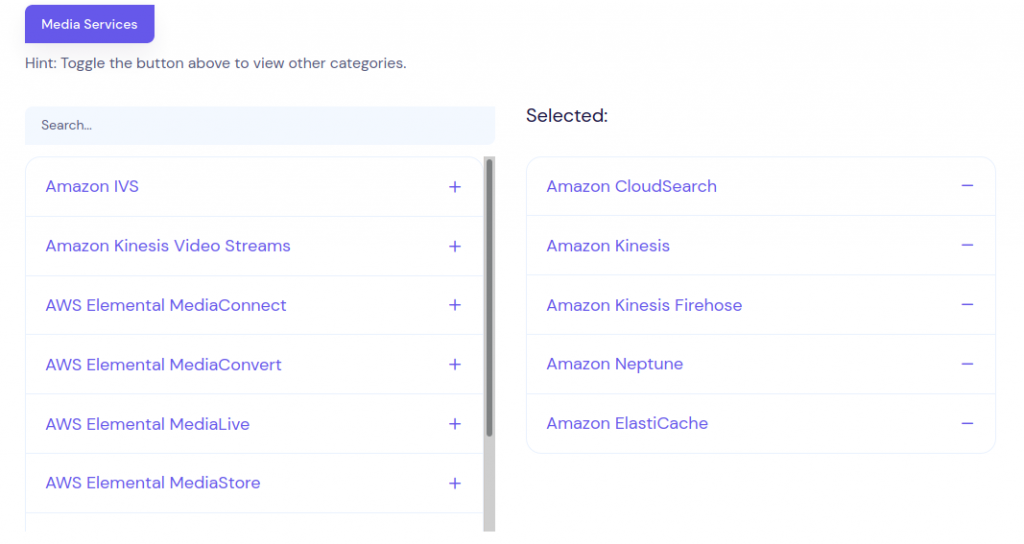
How it works
You start by connecting Asana or monday.com with OAuth. Access is read only and under your control at all times. We do not change or write tasks.
Next, a large language model groups related work and finds recurring patterns. That includes obvious repeats, quiet duplicates that happen across teams, and tasks that often move together in a process.
Finally, we deliver a short report that tells you what to automate, in what order, and how. Each recommendation includes expected time savings, suggested connectors or integrations, and sample prompts so your team can move quickly.
Typical turnaround is about a week from connection to findings.
Why scan tasks now
Personal AI usage is already shaping how work gets done. Sherpa helps you see what is working, what is risky, and what should be standardized. It replaces guesswork with a picture of real workflows, so you can invest in the right automations and avoid paying for licenses that will not get used.
Leaders also get a common view of where hours are going. That makes process conversations easier. Instead of debating tools in the abstract, you can point to specific clusters of tasks and decide how to fix them.
What you get in the report
- An automation scorecard with high, medium, and low opportunities, each with a short rationale.
- A top 3 list of automation plays with exact steps, recommended tools, and integration notes.
- An impact section that translates hours into dollars using your inputs.
You also get a recurring task map, duplicate detection across teams, suggested prompts and connectors, and a next step build plan that you can implement with your team or with Setfive.
A sample finding
Manual reporting shows up in almost every audit. A team exports CSVs every Friday, merges them by hand, and posts a summary. The play is straightforward: schedule the extract, load it to a source of truth, and send a templated summary to Slack or email.
- Impact: High
- Effort: Medium
- Estimated savings: 6 hours per week
If 10 people each save 6 hours per week at an average loaded rate of 75 dollars per hour, that is 6×10×75=4500 dollars of capacity back every week.
Where Sherpa fits with ChatGPT Team and Copilot
Already have licenses? Sherpa shows where to deploy them and turns ad hoc prompts into repeatable, auditable workflows.
Still evaluating? Run Sherpa first to find the highest value use cases, then buy only what you need.
Not ready to buy seats? Many plays use tools you already have, so you can capture savings now and expand later.
Security and privacy
Sherpa uses OAuth with scoped, read only access. You can revoke access at any time. We follow your data retention requirements, and your findings are your IP. We do not use your data to train public models.
Who benefits
Ops and RevOps leaders with checklist heavy processes. PMOs juggling handoffs. CS and Support teams producing weekly reports. Marketing ops moving content through approvals. Finance and People teams closing the loop on routine reconciliations. If the same task shows up again and again, Sherpa will find it.
FAQs
Do we need to change how we work to try it? No. Sherpa analyzes the work you already do.
Will this replace people? The goal is to remove low leverage, repetitive tasks so your team can focus on higher value work.
Can you help implement the plays? Yes. Implementation projects are scoped after the audit.
Try the Free AI Task Audit
Stop guessing where AI will help. Measure it. Sherpa shows you the work your team should not be doing and how to automate it, fast.
Get your Free AI Task Audit, a concise scorecard, and a prioritized plan with savings you can defend.
Ready to see your opportunities? Get in touch at contact@setfive.com or read more about Sherpa at sherpa.setfive.com